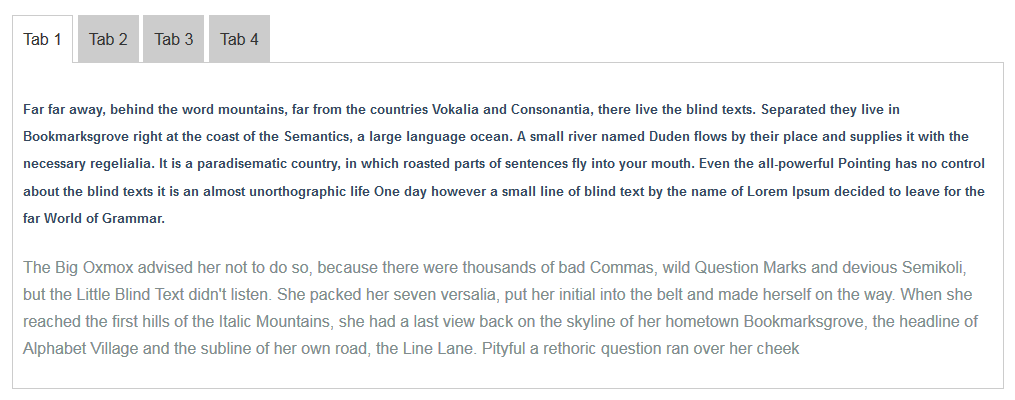
Simple tabs are actually a single content area with multiple panels, each associated with a header in a list. In this article we are going to create tabbed content with very simple tabs using jQuery. The last output of our tutorial will be like below.
You can see the working example here or download the source.
Follow these steps to create Simple tabs using jQuery:

Step 1: HTML Markup
Write the following html code inside body tag of your page:
1 2 3 4 5 6 7 8 9 10 11 12 13 14 15 16 17 18 19 20 | <div class="tabs"> <a href='#tab1'>Tab 1</a> <a href='#tab2'>Tab 2</a> <a href='#tab3'>Tab 3</a> <a href='#tab4'>Tab 4</a> </div> <div class="tabcontainer"> <div id="tab1" class="tabcontent"> TAB 1 Content </div> <div id="tab2" class="tabcontent"> TAB 2 Content </div> <div id="tab3" class="tabcontent"> TAB 3 Content </div> <div id="tab4" class="tabcontent"> TAB 4 Content </div> </div> |
We have included a number of anchor links inside the div block (class = "tabs") to work as clickable tabs. Each simple tab has an unique href attribute. These are preceded by special character ‘#’ because of internal linking.
The actual content are placed inside div with class name tabcontainer, each content section within a div that has the id same as anchor href attribute. When we click any link, it jump down to the very section if you check your page until here. You should replace TAB Content with your real content.
Step 2: Styling
We have put the following minimal CSS code into style.css file and linked into head section of our page for some basic formatting and styling of tags:
1 2 3 4 5 6 7 8 9 10 11 12 13 14 15 16 17 18 19 20 21 22 23 24 25 26 27 28 29 30 31 32 | .tabs a { padding: 10px; border-top: 1px solid #CCC; border-right: 1px solid #CCC; display: inline-block; background: #CCC; color: #333; text-decoration: none; outline: 0; } .tabs a:hover { background: #BBB; } .tabs:first-child a { border-left: 1px solid #CCC; } .tabs a.active { background: #FFF; cursor: default; margin-bottom: -3px; } .tabcontainer { border: 1px solid #CCC; padding: 10px; width: 100%; margin-top: -1px; -moz-border-radius: 0 0 5px 5px; } |
Step 3: Add jQuery
All JavaScript code requires jQuery. So include jQuery in our page if you don’t have already. We have added jquery-1.11.1.min.js in head section of our page and it’s included in download.
1 | <script type="text/javascript" src="js/jquery-1.11.1.min.js"></script> |
Step 4: Call the Function
The last part remaining to do is calling the JavaScript function. So add the following code just after the jQuery file you included in step 3.
The script contains comments explaining which jQuery actions are being performed.
1 2 3 4 5 6 7 8 9 10 11 12 13 14 15 16 17 18 19 20 | <script type="text/javascript"> $(document).ready(function(){ //Adding active class to first tab and show $('.tabs a:first').addClass('active'); $('.tabs a:first').show(); //Hiding tab contents those are not first element of tabcontainer $('.tabcontent').not(':first').hide(); //Click event on tab $(document).on('click','.tabs a', function(){ //Adding active class to clicked tab and removing same class from it's siblings $(this).addClass('active').siblings().removeClass('active'); //Hiding all tab contents $('.tabcontent').hide(); // showing the clicked tab's content $($(this).attr('href')).show(); return false; }); }); </script> |
You can see the working example here or download the source.
Conclusion
So here we have a nice and simple tabs using jQuery and CSS. If you have any questions, comments, or suggestions, please feel free to ask!